I already have one unit of this figure though not tied directly to Sparta.
 |
| Although I already have several hundred Greek light javelins, they are all shiekded, so these two units should prove to be very useful in future. |

I already have one unit of this figure though not tied directly to Sparta.
|
| Although I already have several hundred Greek light javelins, they are all shiekded, so these two units should prove to be very useful in future. |
Between not doing a lot of painting recently and the amount of time it takes to do large units of G3 this lot have been a long time coming!
 |
| I realised that, although I had two G3 Spartan units already, they were both 24 figure units. So I decided to do this lot as a 1x48 or 2x24 figure unit. |
 |
| I painted the Lamda insignia as a plain inverted V instead of outlining it in white. |
 |
| I've also based the last G3 unit. The Tetrion is a slightly different green - difficult to mix exact shades so I only make limited attempts at trying! |
 |
| Must admit, the more I see of this shield pattern the more I like it. |
... or a Greek version of the Sambre from The Ancient War Game...
If Dascyleum, 700 hoplites from a Spartan army were out foraging in Asia Minor - the Spartans under Agesilaus had invaded - when they ambushed by the Persian Pharnabazus with 2 scythed chariots and 400 cavalry. The Spartans lost about 100 men before the rest of the army intervened and drove the Persians off!
Basic DBX rules used but a couple of changes. Persian cavalry used as Knights rather than Cavalry - it's basically a cavalry charge so Knight fits the use better.In combat, - 1 if disorganised, for example, they are foraging and spread out or just surprised. Dice roll of 4-6 for them to get organised. Infantry 6" move, cavalry and chariots 12".
 |
| The Greeks are out foraging with the main camp some distance off table to the left. Spread out, wandering in all directions (OK, very unforage-like behaviour but..), inbetween a river and some lightly wooded hills. |
 |
| And behind those low hills, watching and waiting... |
 |
| A mad charge catches the Greeks completly unawares! |
 |
| And the Persians lose a chariot! On the other hand, the Greeks lose 5 elements! |
 |
| The Persian charge continues, cutting down more Greeks. |
 |
| As the Greeks start to get better organised some of them start heading back to the camp to get help. |
 |
| The Greeks nearest the camp even manage to catch some of the Persian cavalry and destroy them. The Spartan high command would probably be a bit irritated that one of the elements doing the damage seem to be Theban mercenaries! |
 |
| At that point the Persians called it a day and left. The casualty count was very much in their favour - took out 15 Greek elements for the loss of 1 chariot and 2 cavalry elements. |
Although it looks like a total rout (OK, it was) the combats were usually quite close, even with the Persians having advantages like starting off uphill, Greeks usually getting -1 for being disorganised and Persians having an overlap.The main advantage the Persians had was making the Persian cavalry Kn. Many combats were won by 1 or 2 but Kn against Sp give an immediate kill then - Cv don't have that effect. Hadn't realized that until after the first combat!
Overall, fast and furious fun game. Enjoyed it.
Trying to mix a couple of videos in on this one... if it works, start of move 3 and after completing movement (but not combat) of move 7...
 |
| The Spartans on the hill are starting to look more and more threatened. |
 |
| The orange shields are rushing up to plug the gap in the centre |
 |
| While the other Corinthians try to block the left. |
 |
| Quick picture to show how things stand on move 4... |
 |
| Centre outflanking movement continues |
 |
| The right flank Spartans hit the green and red sparabara units (Corps 2 and 3) |
 |
| It didn't go well for the Persians - Corps 3 dies. |
 |
| In the attritional warfare on the Athenian left another hoplite element goes under. As each element is classed as a separate entity for combat end elements are proving quite susceptible to outflanking and overlaps. |
 |
| There is now a big hole in the Greek centre with the Spartans isolated from the other Greeks. The Persian 'Crescent' light cavalry are moving away from the orange battalion to make way for the infantry moving up. |
 |
| More nibbling away at the flank of a phalanx battalion - this time the Grant Spartan battalion loses an element.In this case, the element behind the 'dead' element had been pushed back so it was directly behind the next element to be pushed back - the whole Spartan battalion rolled low - combats may be individual when needed, but the entire battalion only throws once for the random factor. Saves time, less messy. |
 |
| Meanwhile Corps 2 of the Persian army is just hanging on. |
Leaving this video to show the position on move 7, after movement but before I start resolving combat.
 |
| Note that I don't have enough river tiles to cover the entire frontage! |
 |
| On the first move the Persians have crossed the river and are advancing. |
 |
| The two skirmish lines in front of the Grant Spartans clash with the Persians supported by some heavy cavalry. In the actual battle the Persians were beaten when the general Mardonius was killed. To represent that, I will move the general into the battle line if there is close combat and replace a spara element - if the spara unit is destroyed, he dies, Persians retreat. |
 | |||
| As the left flank Persian cavalry and Greek infantry clash the Persians advance towards the Spartans who are trying to form a line. |
 |
| The combination of cavalry and Sakae prove too much for the Greek light javelins and they die. |
 |
| The right hand Athenian battalion is looking stressed... In the 'real' battle the Persian centre held back - here, it's proving to be a major factor! |
 |
| And meanwhile the supports in front of the right flank Spartans have seen off the Persian light cavalry... All the Persians needed to do was roll better than the Greeks - the Greeks rolled up three times, pushing back the Persians twice then killing them! |
 |
| The right flank Athenian battalion is taking serious casualties - but survives a morale test! Meanwhile the Thebans are poised to strike. |
 |
| Leaving things looking very interesting as far as the battle is concerned... especially looking at the Theban cavalry and Corinthians dashing to cover that exposed flank! |
The numbers don't completely match Grant's figures. His Greek army had 270 figures, my version 276. For the Persians he ran to 303 figures including 66 cavalry. Originally, my version had 288 figures including 48 cavalry. To get closer to Grant's figure - and closer to the size of the force facing the Spartans - I added another unit of Sparabara to make the Persian figure up to 312.
 |
| View of the battlefield taken from behind the Persian right flank. |
 |
| The Spartans under Pausanius are to the foreground. The Spartan force is basically as per Grant except that, being element based, the battalions are 48 strong instead of 50. |
 |
| The Spartan hoplites on the hill have been here before - original Grant figures. |
 |
| The Athenians. Two of my 48 - strong G3 units rather than 42 as per Grant. Only 12 Athenian archers instead of 20 - and also veteran Grant figures. |
 |
| The rest of the Greek hoplites - 2 24 strong battalions of ex-Harry hoplites corresponding to the 42 hoplites in the original. |
 |
| Next, the Persians. I've followed the idea that the Immortals left the army with Xerxes and replaced the 42 Green Immortals with 2 24 strong Sparabara units, one of Medes, one of Persians. The 'Horsetail' light cavalry should really be to the side of the Spara units and number 20 - but I've used my standard 12 figure units. One thing about these cavalry is possibly the same - they are ex-Grant figures so could be from the original Horsetail or Crescent units... |
 |
| The 42 strong Black Immortals have been replaced by a 48 strong spara unit. The light infantry in front should be J/B/Sh rather than B - but it seemed to be the best place for the Sakae rather than with the less reliable parts of the army. |
 |
| Cavalry corresponding to the Scorpion and Crescent cavalry - my own interpretation of the army didn't include the Crescents but I added them to match the book. I seem to have reversed their positions though - I'll correct that for the refight. Frankly, looking at that wide open space between the Spartans and Athenians I will have to seriously misuse these to avoid a massacre... Figures behind roughly correspond to the Cadusii and Apadan - spear/bow/shield but in my 24 figure units rather than the 24 of Grant. |
 |
| This included the Phrygians but also includes space for the Lydians, Thracians/Bythynians and Indians that were listed in the centre (as in, escaped with Artazabus) |
 |
| And finally the Thebans - 48 ex-Harry hoplites, 12 of my light cavalry rather than the 20 light cavalry in the original. |
And nothing stopping me have more than one go at it, same as Ross...
Getting there with an attempt to do something similar to the Charles Grant version of Plataea - similar in the sense I've also tried to match it with the Herodotus version of the Persian army as well. My table is a foot too narrow to allow for the depth Grant was able to achieve in his battlefield as well - in his version, the battlefield looks to be almost deeper than it is wide!
Anyway, I'm splitting this bit into two parts - mainly because this is a pure experiment. I've set it up and tried to do a short (but very large file) video of the setup as a taster... and at time of typing this no idea whether it will work!
The picture is slightly out of date as far as the Persian left flank is concerned - updated version will come later.

 |
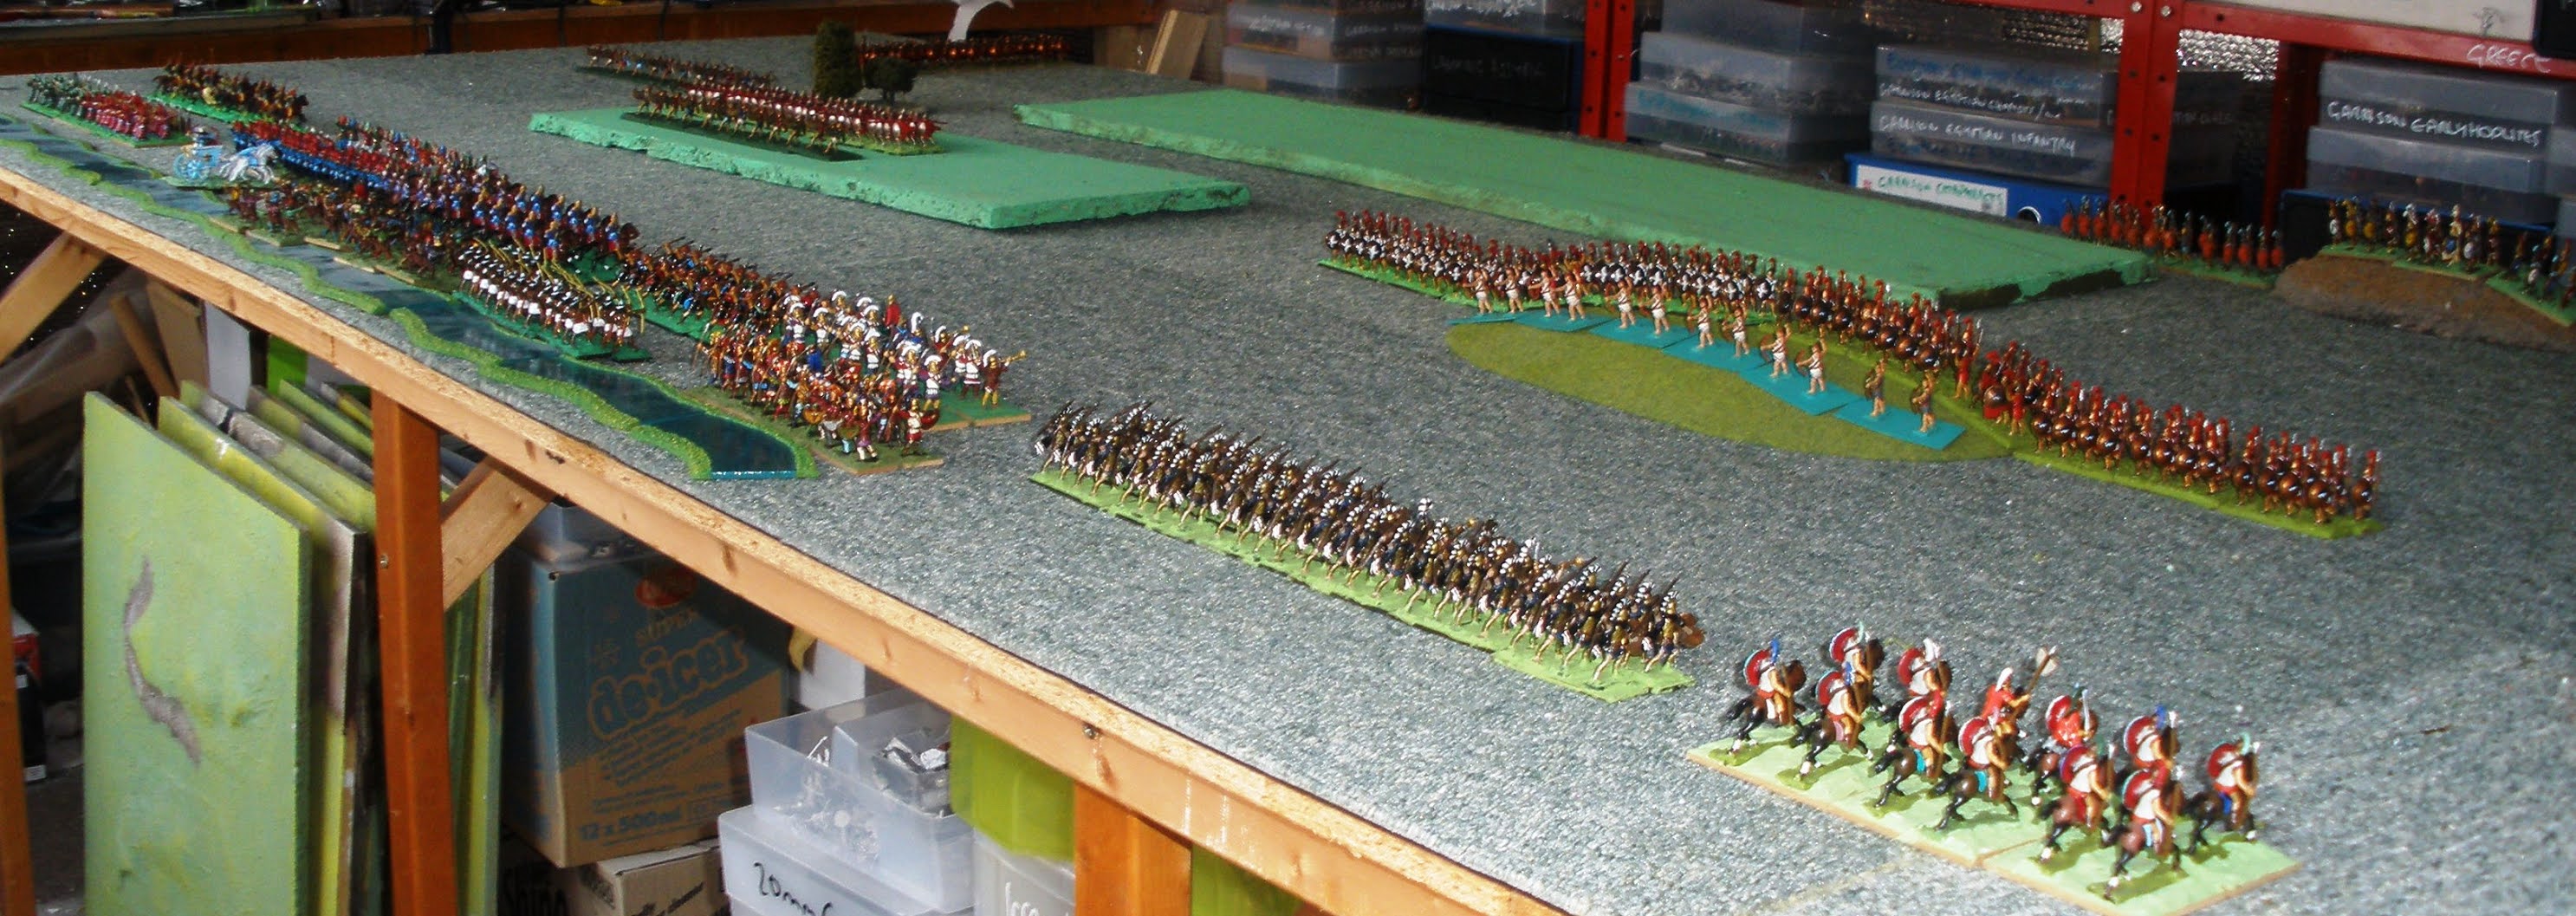
| My total based force of G7. From left to right, 'mine', 'Harry's' and 'Charles Grant' figures. 7 units of 24 = 168 figures. |
 |
| 'My' Spartans are all ones I cast myself. For wargames purposes these figures are the ones I would prefer to use in any 'normal' battle - though in fact I also have a preference to my other Spartans based on G3 for early, the GC5 converted cavalry figure for later. This figures are difficult to 'stack' behind each other or move into contact! |
 |
| Ex-Harry's figures - two units that seem to have had different painters, one much better than the other. |
 |
| Ex-Charles Grant - much the best painted figures. Still a few unbased - originally there were 88 of them. |
 |
| This picture demonstrates an issue with the figures. Some have very think and robust spears, others they are so thin they snap easily. Of my ex-Harry figures, 24 out of 96 have snapped spears. Mine are preferred for use simply because I've mostly only used thicker spears plus a few of the 'better' thin ones. |
 |
| Close up of some Charles Grant figures. Some paint loss but nicely painted. Note one of these has had a crest added to the helmet to make an officer figure. |