Assyrian army

Assyrian army

Tuesday 25 April 2023

Salute 2023

 Between Salute, watching the Marathon, travelling to and from London plus across London think I overdid it - non stop coughing fit for a lot of Monday, very little sleep Monday night and just starting to recover!

Steven and I played a game based on He Man and the Masters of the Universe. It played out to a draw but wasn't really one we liked.

We both stocked up on cheap brushes - well, you don't always want high quality brushes, sometimes the cheap ones do the job.

The brushes and this little book were paid for by Steven and Sarah as a birthday present. I'd never gotten round to buy a copy of Little Wars and this version was nice and colourful.

The book also included a load of cutout figures to use with the game - very colourful but I think I've got enough 3D metal figures to not need these!

Couldn't resist this. Haven't got round to reading it yet!
 

That's it as far as purchases go. However, one other 'event' happened at Salute - a sort of unofficial bloggers meet organised by Bob Cordery that included a photo of the bloggers present. Including yours truly. Pictures of both Salute and the bloggers can be found on his blog, Wargaming Miscellany

Thursday 20 April 2023

Still working on it.

A few sections have been finished and initially sprayed grey. The colour looks reasonable so it will probably be kept.

However, the brick/stone work is taking an age!

I'm using a biro for running with the grain but this monster for the cross grain cuts. It's heavy and awkward but anything lighter tends to skip.

The problem with balsa is that sometimes it shreds or flakes when you cut it - difficult to sand and the ends refuse to go smooth. Hence some of the parts need copious use of liquid green stuff to give a workable surface!


Tuesday 18 April 2023

The Room

 Playtime. About 12-14 hours after starting this I'd finished it, just working on it at odd moments over the day.

Very crudely painted and no furniture yet. No skirting board - found the 'wings' do the job of 'stopping' the walls from going too deep.

Door needs a bit of work! The mat is simply a piece of clipart from the internet; door and windows are bought; everything else was scratchbuilt -well, yesterday looking at the time!. That includes both pictures and the fireplace. For an idea of size, the pictures are 15mm square.

Rather than have lots of separate floor sections I've decided to use one block of balsa for all the rooms I make - should make storage easier!

So that is the first fully working prototype. Quick, easy to make, bit more care and they would also look good!

Sunday 16 April 2023

Making room - a possible 'next' project.


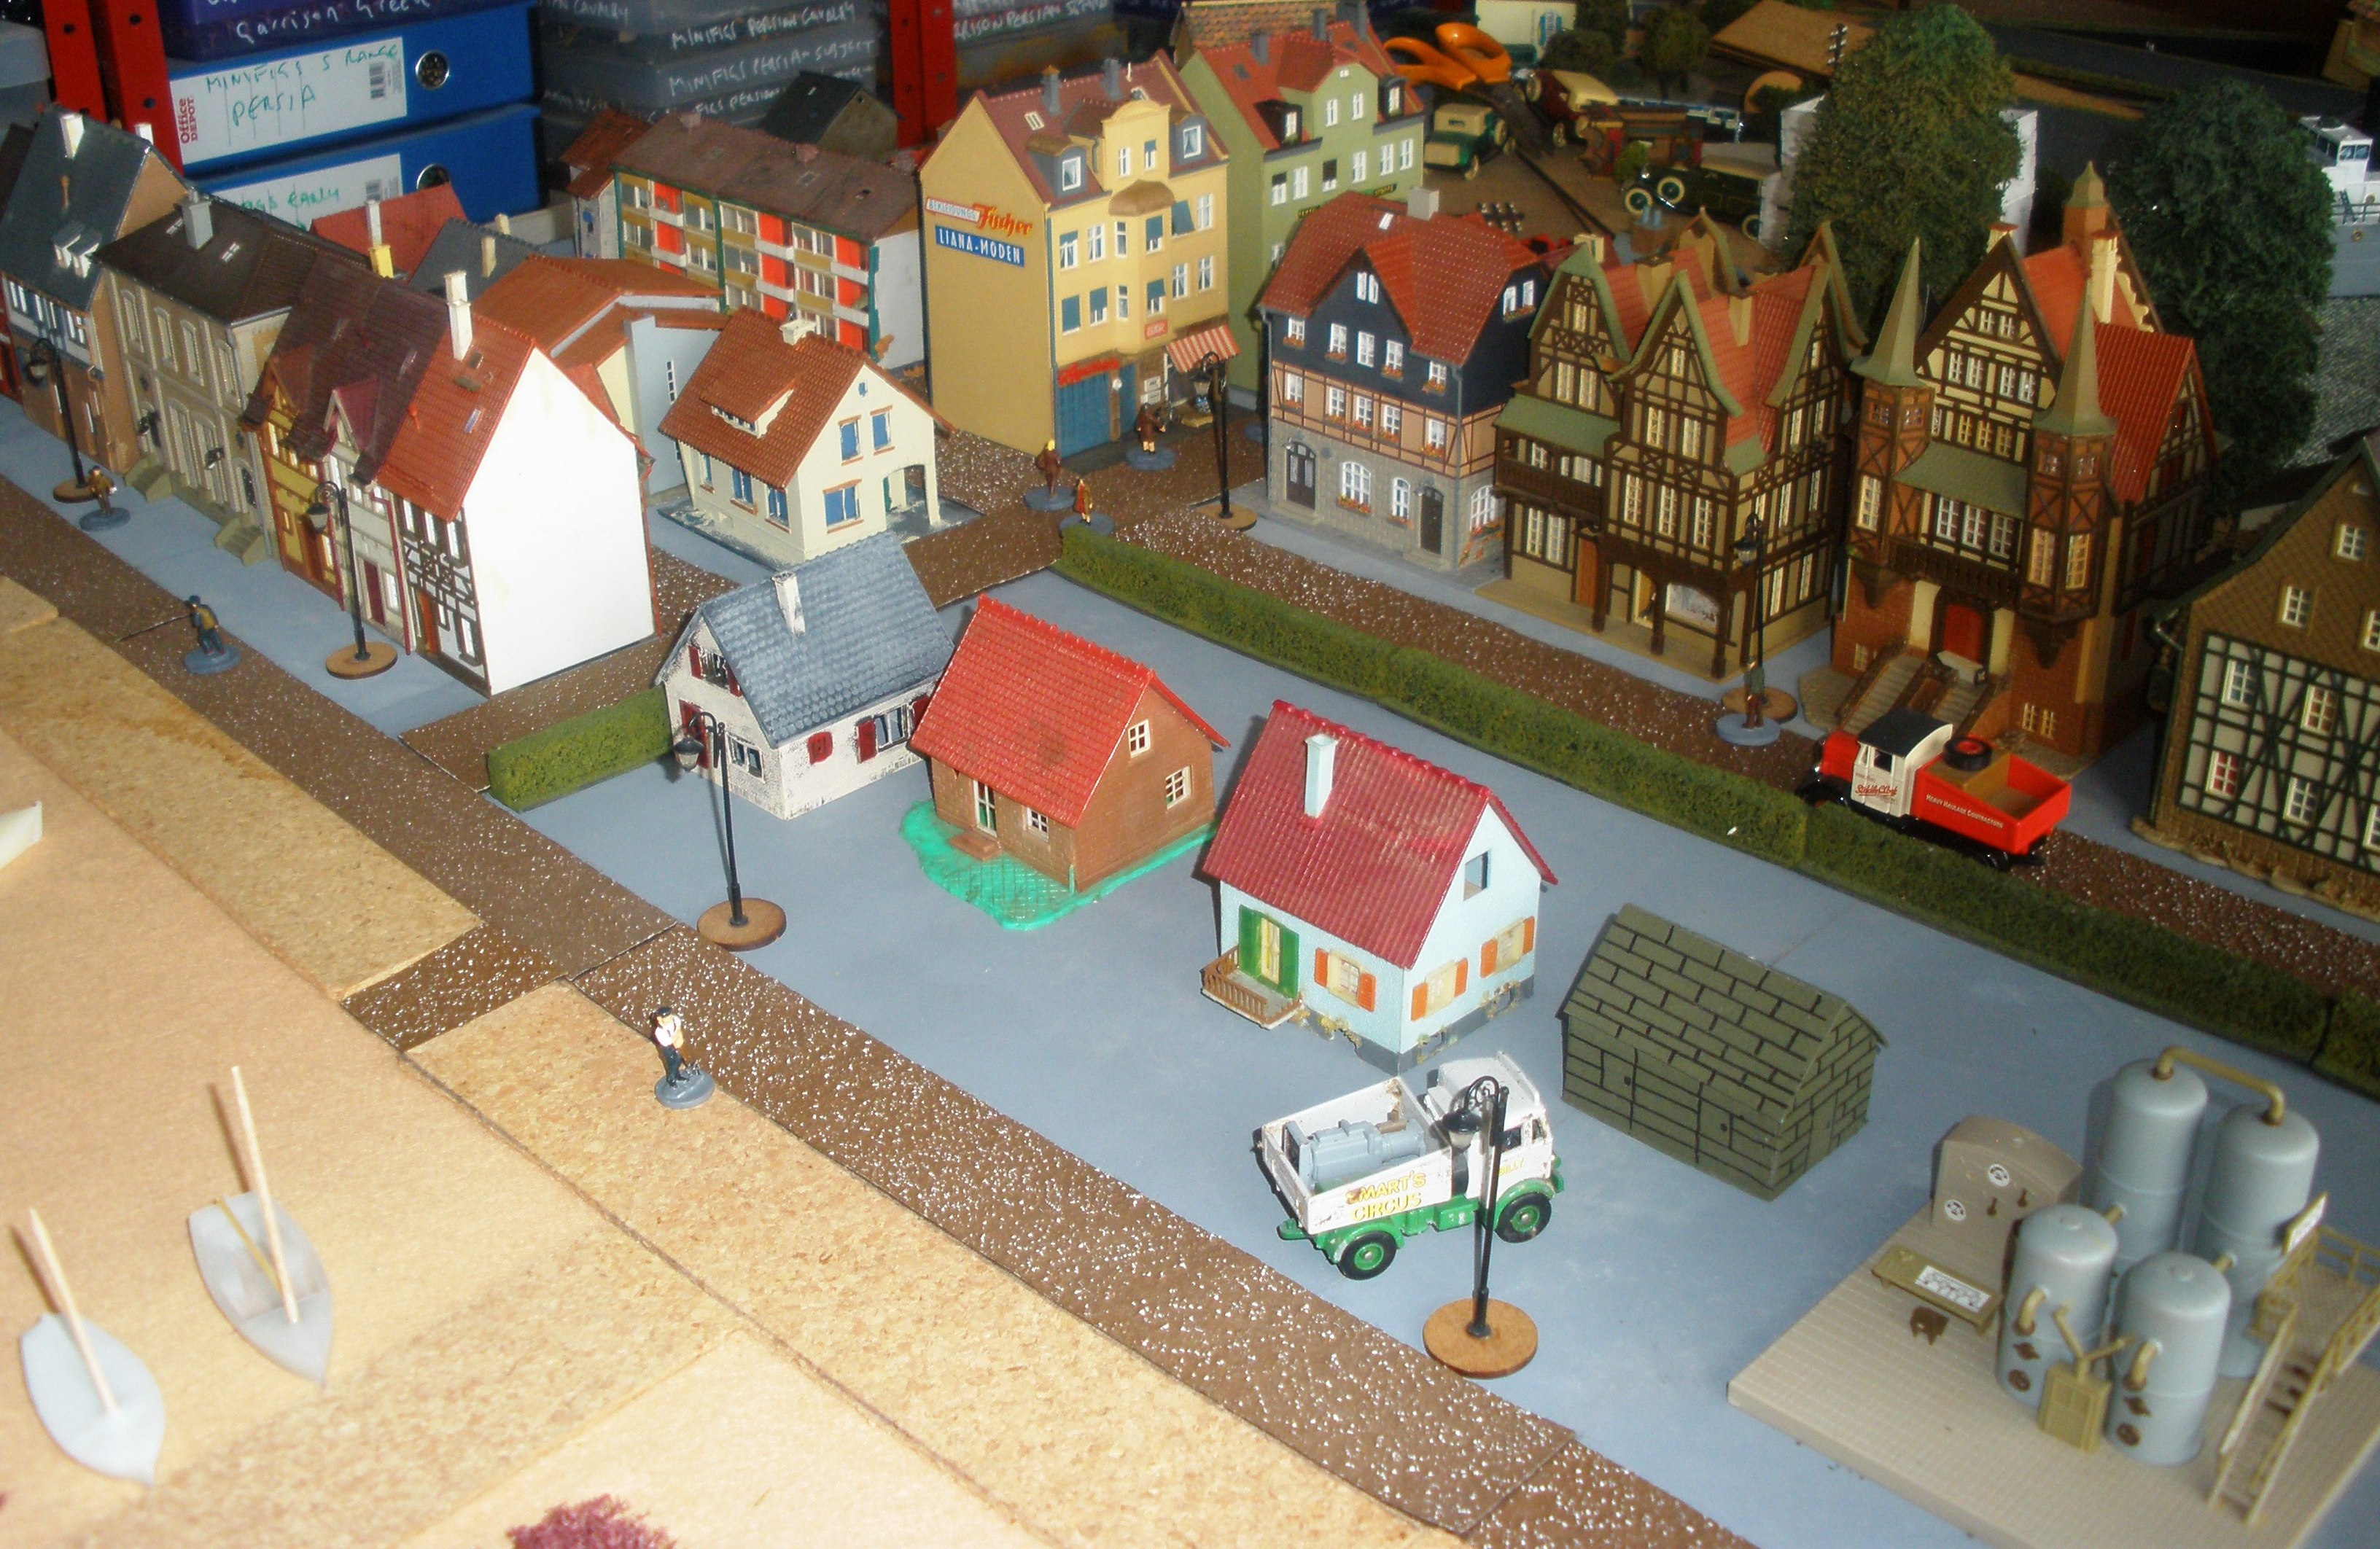
Ok, putting together Seaport - looks worse than it is at the moment....

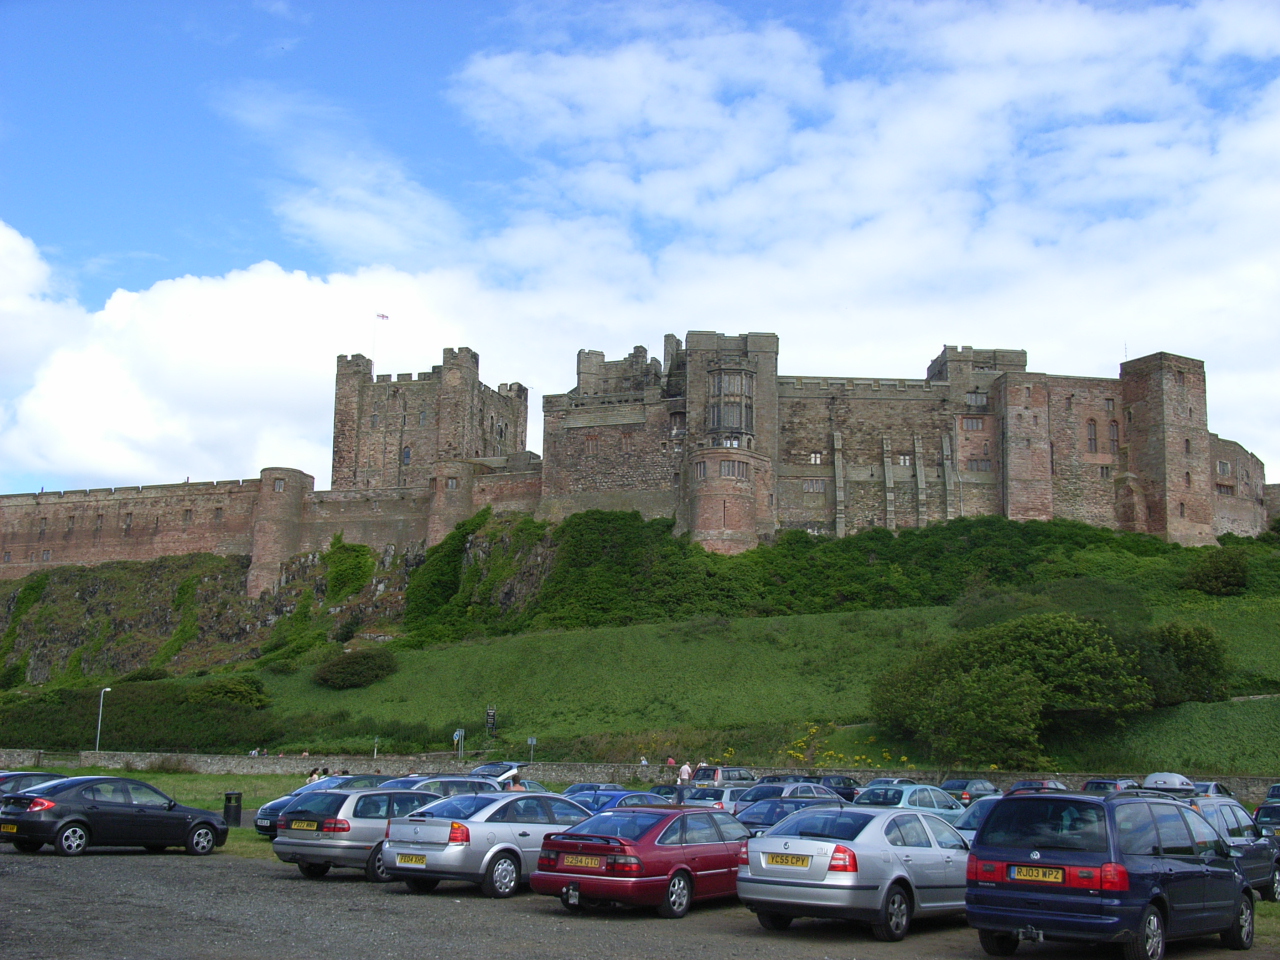
Whole board is a bit of a mess. Doesn't help that I've pushed the whole town back to give me space for the steps. Plus the tide has come in a bit.

Bought a few cheap pieces off ebay, some of which can be used in the working area of the port. Got some other buildings from Anyscalemodels as well but they're embargoed - I designated them as 'birthday present' and that isn't until 1st May. Which was when I expected the rest of the place to be ready...

However... same seller that sold those buildings also sold this lot. Masses of doors and windows.

Turned the package over 'cos it adds to the overall impression.

 Right, here's the pitch:

You can get lots of furniture, etc, on the internet. Even complete house or shop fittngs - Langley do a fantastic range of shop fittings in 1/76th scale for around a tenner, likewise Frontline do various 25/28mm lab fittings. You can buy lots of dungeon systems, or houses where you can take the roof off to fit figures inside.... 

What you can't get are rooms...

For a horror pulp scenario, mad scientist's lab. Everything takes place in the lab. You don't want a whole building, you don't want a load of corridors. You want the lab. Ideally with removeable walls so you can move figures around easily and take photos of the thing.

And yet it's so easy to do.

Drawings show the method.


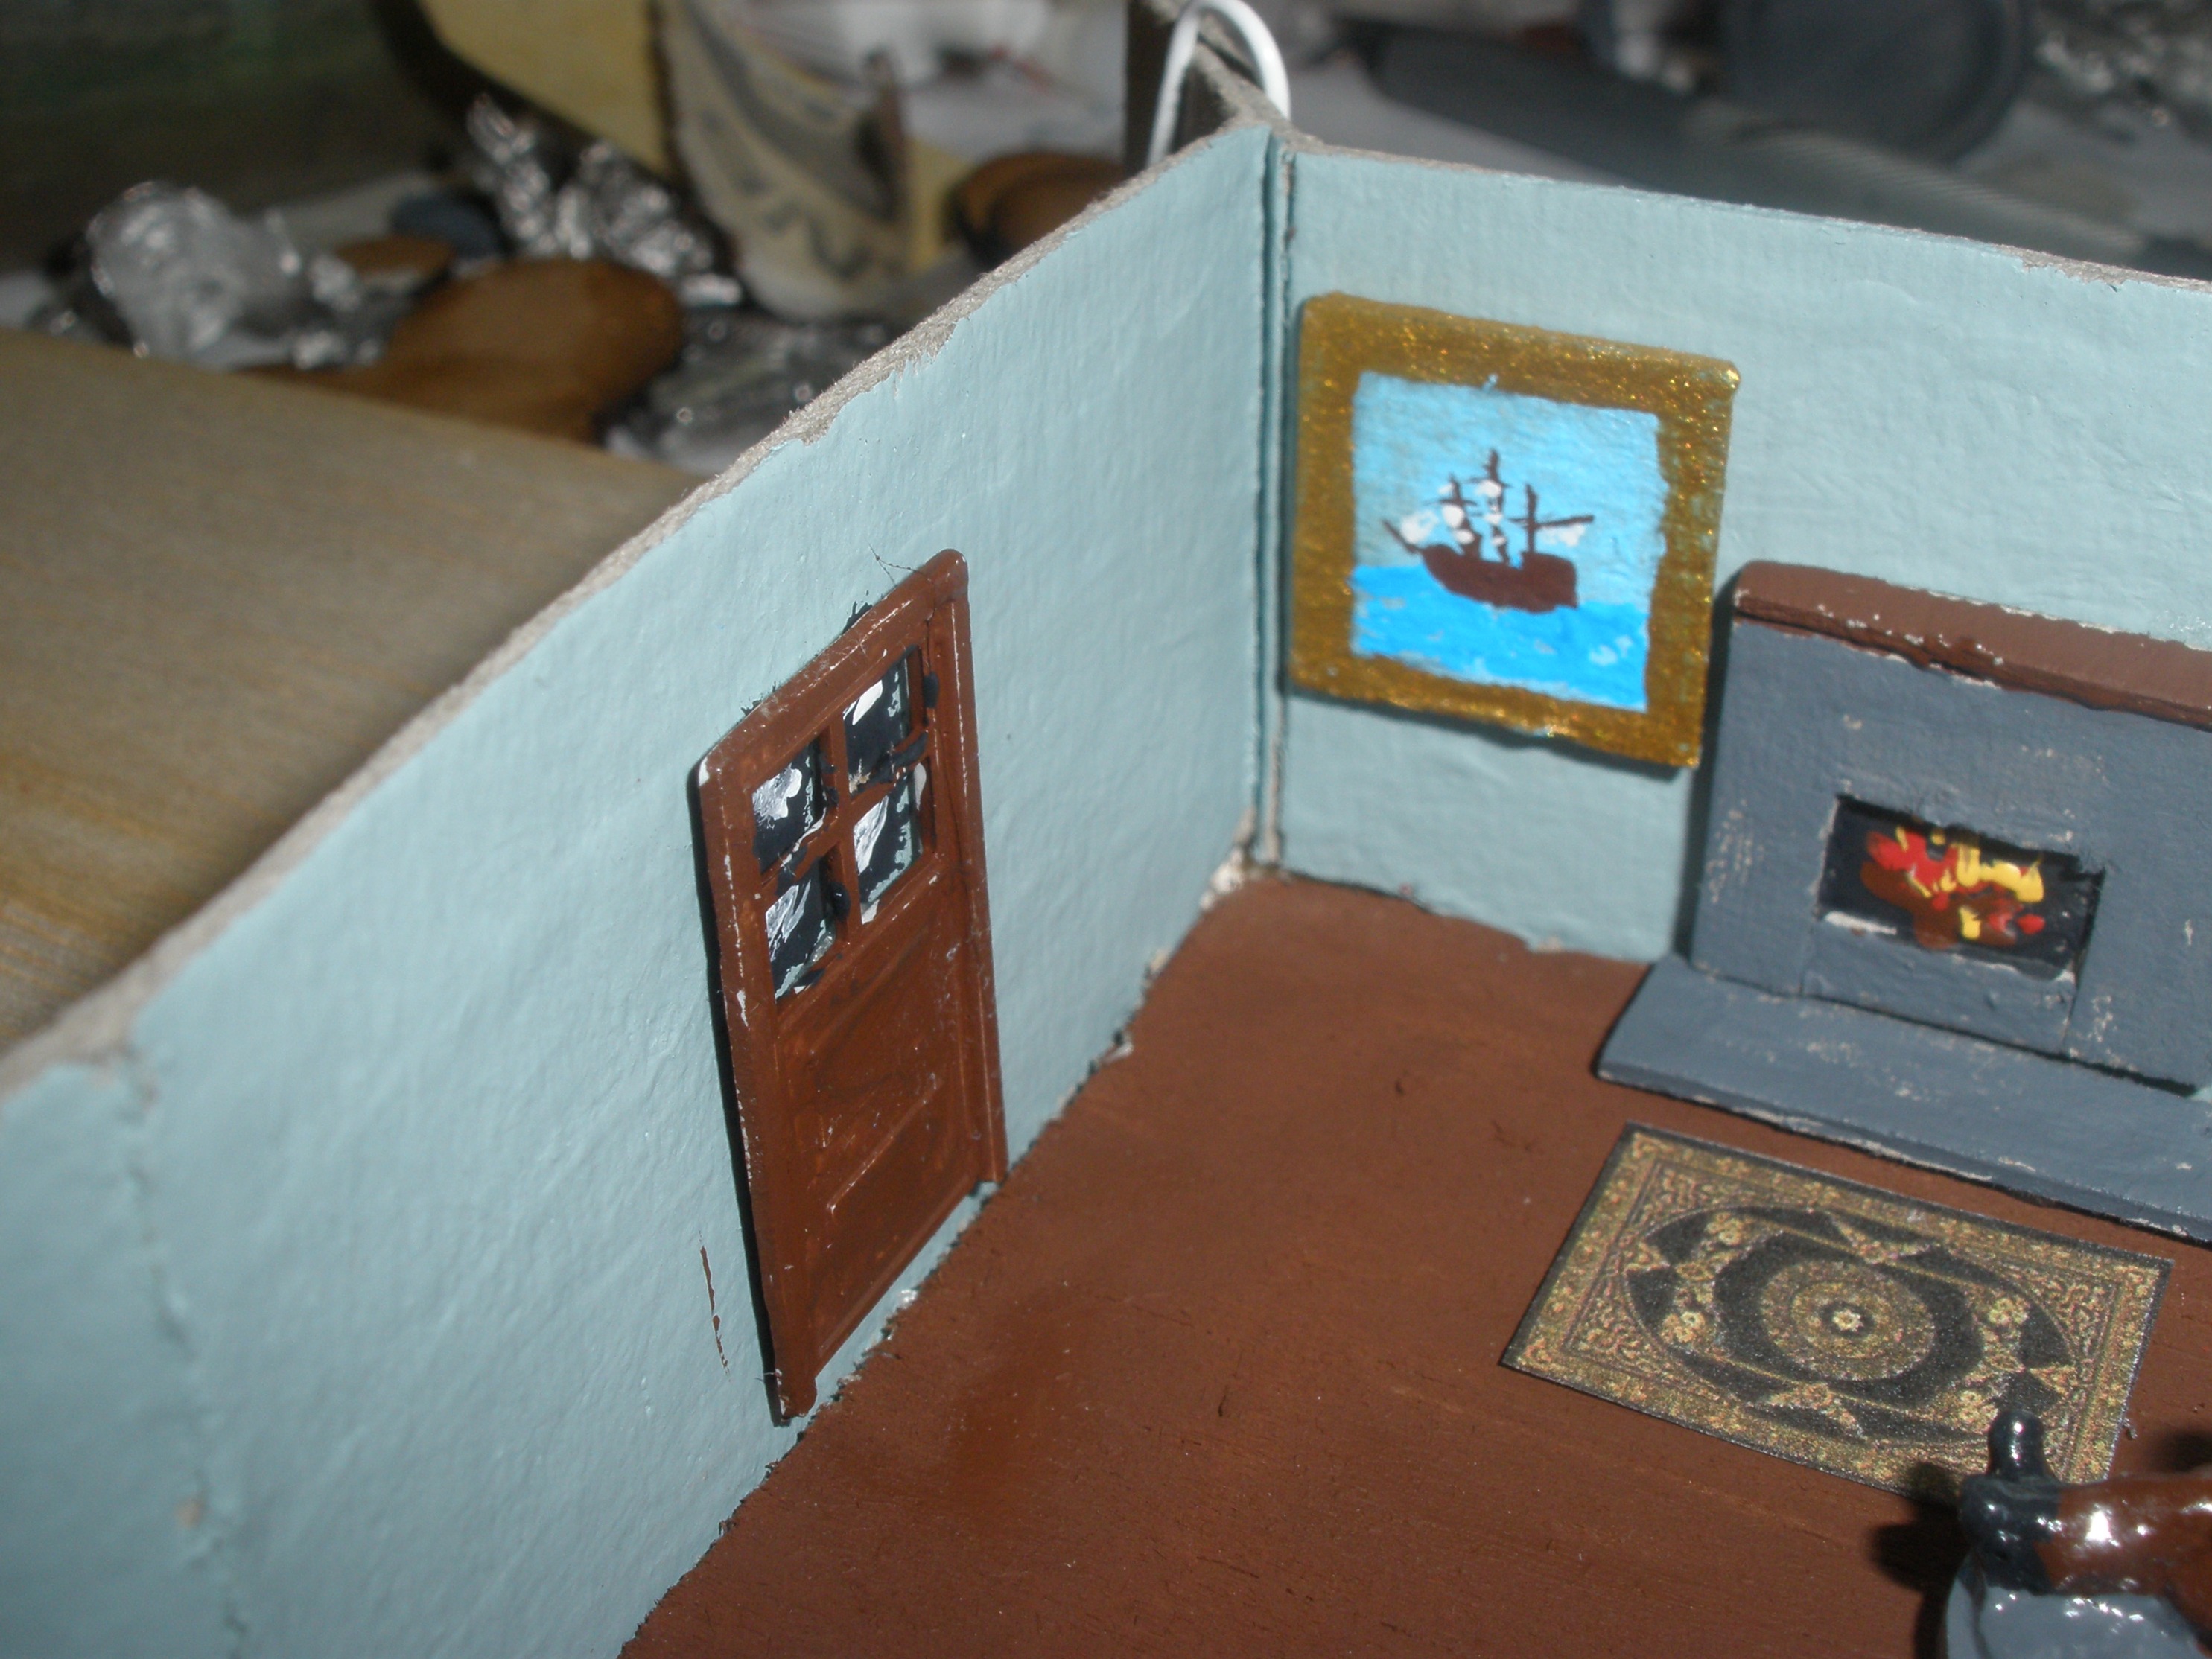
One of my very (very) rough proof of concept models. Note the card acting as a skirting board/stop on the back wall. Doors and windows to be added as appropriate!

And here I've done it as 3 different walls - the method allows all four walls to be made for a room while allowing easy access for photography of just moving figures around.

Incidentally, I can see something of this type being commecially viable. A set consisting of a floor tile and four walls, extra wall tiles or floor shapes being available. Wall tiles could even include things like intgral cupboards/shelves as well as doors and windows! Resin models. The paper clip method is obviously only one possible way of doing this.

Friday 14 April 2023

At least half finished...

 Didn't expect to get this far for a while. When I started looking through my balsa pile I managed to find enough of the right thickness to do just about everything. When looking through these please bear in mind two things. Firstly, this is the totally unfinished/crude product, and secondly I used a jigsaw a lot and can't cut a straight line with one to save my life!

Final effort in it's raw state! Had enough balsa to do most of the things I wanted.

The inner harbour.Sea wall on the seaward side, no wall on the harbour side to allow access to boats.

Some of the balsa was recycled wood. Years ago I did a balsa warship that didn't look right so was scrapped. The stern of that boat forms the basis of lighthouse base.

The wall around the lighthouse is an accurate reflection of my cutting skills. Incidentally I was originally going to shape the tops of the seawalls before I assembled the harbour - I decided to assemble everything first to make it easier to handle curved areas/joints.

I would liked the promenade/seawall to extend over the entire width of the board but ran out of balsa. Perhaps later. That triangle of cork will also be replaced at some time.

One thing I hadn't thought about was the need for steps to allow people to get on the promenade area! Initial version is simply from layered cork to see how they look. At some time I will probably put steps in along the whole length of the promenade, either pushing the town or the harbour out of the way to allow them to fit!

 Next job, sanding, perhaps some shaping, cutting the balsa to suggest gaps between stones, etc, then spray everything. Possibly paint/fill the cracks with a mix of green, brown and yellow paint to suggest the gaps between stones. And of course do some steps.

Of course I can't leave it!

I mean, the current setup works but I'm the kind who likes to  just... well, overcomplicate things...

Because of my past purchasing policy of buying lots of balsa bundles (purchasing policy/balsa bundles - glad I'm typing this instead of trying to say it!) I have quite a decent pile of balsa doing nothing - OK, it's resulted in a couple of planes and things but...

So I'm trialling a different way of doing the harbour.

To be fair, even at this rough stage it does look better. How to finish it though - grey or off-white for the walkways certainly, but white or gray for the walls? Grey as natural stone means a lot of work with my Dremmel to give the impression of separate stones, white and I don't have to - it just looks as if the spaces are filled with lots of layers of paint. This is, I think, my current preferred option.

Incidentally, instead of using a plane or craft knife to round the tops of the stonework I cheated and used this little item - a potato peeler. For balsa, a lot easier!

As it stands, I now have to decide how much of the quay can be made by cutting up the balsa I already have and how much I need to buy in of the correct size. Decisions, decisions.

Wednesday 12 April 2023

Initial setup completed

Apart from finishing off and adding a few things that are missing (because I don't have them!) this would seem to be a good 'initial finished product'.

The view from the seaward side. I've made a point of populating it a bit.

And from the land side showing back of the village and the fishermen's working area.

The view of the harbour area. It's very much a simplified version of the harbour at Seahouses. Honest. Likewise, the harbour walls are just stylised, almost cartoony, structures - does the job, not as realistic as I might like.

Another view of the inner harbour with Seaport in the background. The advantage of going with the cloth rather than my original idea of tiles is that by moving the blue cloth I can easily represent both high and low tide.

In the original, this side of the harbour consists of rocks. Not having rocks I've just covered the area in vegetation!

This is the industrial/working area. As such, the buildings are acting more as placeholders until I can fill the area with more appropriate buildings etc.

The town part itself uses buildings I already have. This lot will probably not be changed - firstly it would be too expensive while not giving enough added benefit, secondly I'm not sure I could find enough stuff to do the job in a way I would like.

Rear view of the town itself. Actually I'm not sure what to call it - town, village, port? OK, the shop signs aren't in English, but at least it has shops.

 And that's about it for now. Future work may upgrade the harbour walls, etc. Shouldn't be too difficult using balsa, probably too expensive to go for bought in resin. A few buildings for the working area have been ordered, after that I'll probably get pieces to 'superdetail' the thing with various harbour fittings. Meanwhile, it's a workable model harbour.

Tuesday 11 April 2023

Steven - Type 6

From Steven:

I painted a 3D-printed spaceship from  Shapeways recently. It’s a cargo vessel, specifically a Type-6 from a video game called Elite Dangerous. I imagine it to be a working vessel, so it is worn and a bit dirty from planetary landings. The vessel’s name is Pavonis and was built by Lakon Spaceways.


Sunday 9 April 2023

Getting closer


This is a cropped picture of the harbour at Seahouses taken from the internet. If we could we would park along the sea wall of the harbour; usually though it would be in the car park in the top left of the picture. The road behind the car park is the coast road towards Bamburgh. The main town itself goes off to the top left.

My 'current' version of the inner harbour is a lot simpler than that.The beach area to the left is still down for beaching boats. The 'car park' area on the original I'm looking to doing as fisherman's huts and workshops. Quite a few of these harbours have a row of multi story houses and hotels behind the harbour wall - usually on raised ground! - and I'm looking to keep that.

This is my present attempt shown overall.There's still a bit of reshaping to do with the harbour. I may try and get the top of the harbour closer to the original.

The general layout of the hotel/multi storied houses section I'm happy with in principal - need to check out housing stock to get a more suitable style of buildings. Trouble is, my HO scale buildings are very Germanic in feel, I would prefer something less continental.

I really don't have anything that looks right for the working area. However, I think that I should be able to either make or acquire suitable structures...

 Current view? Still a lot to do and the final product will look a lot different to this rough second draft - but I think I'm getting there. Still haven't thought of a name yet, but as it's based on Seahouses I'm currently thinking about just calling it 'Seaport'! 

To add to Neil's comment re upturned boats on Lindisfarne, I'm adding a couple of my pictures of them. Anyscalemodels do a version of these.


Saturday 8 April 2023

Choosing a harbour

Designing the harbour is the next part. I know the Seahouses/Lindisfarne/Bamburgh area reasonably well so Seahouses was my first choice. On to Googlemaps (I cheat. Do a house for sale search for Seahouses and then printscreen the map and satellite pictures, save into Publisher then crop and save as a picture!). Seahouses has some nice fish and chips restaurants.
Satellite picture of the harbour.

Satellite map - ignore the red dots with the white centre - they're houses for sale!

I have a few photos of the harbour area from my last visit - also useful for boat colours!

One of those information posters you get showing the harbour in the past.

This picture gives an idea of the tide in this area! I spent a lot of time fishing off that wall in the past - pollack and coalfish mainly.

The land side of the harbour.

This is the other side of the inner harbour. A nice view showing how the boats line up.

This one gives an idea of the harbour mouth.
Other possibilities on the Northumbrian coast include Amble...

...And Craster.   Craster is quite famous for it's kippers. Sadly, I don't have any photos of these two.

Lindisfarne or Holy Island is a nearby island connected to the mainland at low tide. Stayed there a few times - one of my wife Sandra's favourite places. The fun part is standing by the end of the causeway as the tide rises and watching people who missed the tide - but still try to cross. Been quite a few cars that didn't make it...

Sometimes bits of car get left behind. This particular one tried to get across, failed, but managed to get most of car back to the island! Yes, we were watching... These days the island is seen a lot on the TV detective series Vera - the titular character lives on the island. In the past, more famous for Viking raids!

Another 'famous' place nearby is Bamburgh which has quite a nice castle!

Keep thinking the Cornish coast might also be a good place to look. Or Whitby. Should have some pictures of Whitby lying around somewhere... famous as the setting for Dracular of course... Other famous exports include Whitby Jet jewelry. Jet is basically sea coal polished by the sea. Whitby has some nice fish and chips restaurants.

And from comments section...quite right, Beadnell added!